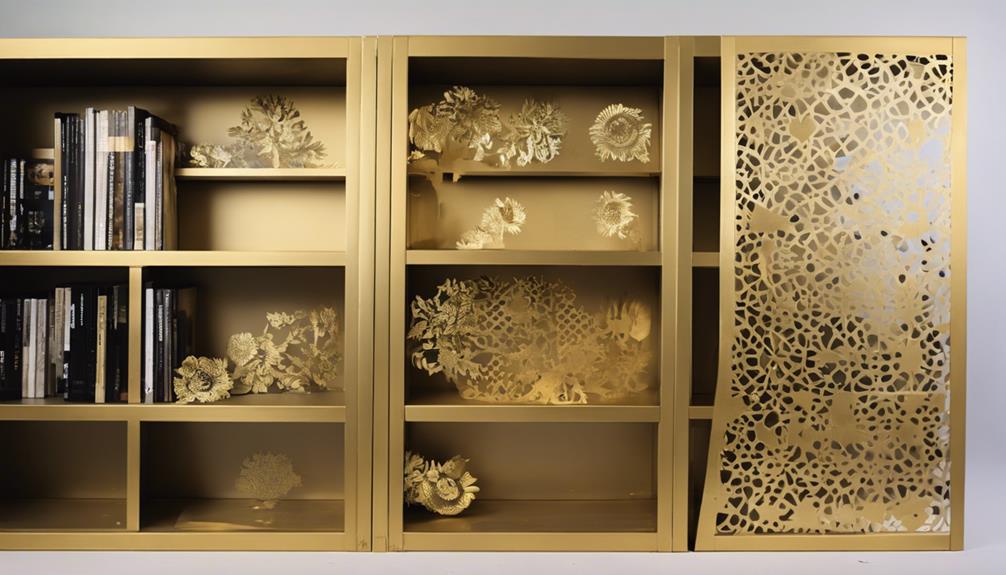
Revamp your IKEA furniture like a pro! Opt for Ivor cabinets and add black spacers for a sleek look. Customize doors with wallpaper or paint for a modern touch. Attach wood legs and stain to match for elegance. Enhance stability with screws and clamps. Finish with hardware and check for durability. Ready to make your furniture shine?
Key Takeaways
- Upgrade Ikea furniture with custom elements like wood legs and stain boards for a high-end appearance.
- Incorporate black spacers and hardware for a polished finish on cabinets and doors.
- Securely attach components for durability and longevity of the furniture pieces.
- Explore cost-effective enhancements like adding stylish legs and clamping stain boards for a luxurious look.
- Experiment with different materials, finishes, and techniques for unique and upscale furniture transformations.
Top picks for "ikea weird trick"
Open Amazon search results for this keyword.
As an affiliate, we earn on qualifying purchases.
Cabinet Selection
When selecting cabinets for your furniture makeover project, opt for Ivor cabinets to provide a versatile base for customization. These brand new Ikea furniture pieces offer a sturdy foundation that can easily be transformed into a high-end look with just a little bit of effort.
Choosing 12-inch wide cabinets makes certain that they're the perfect size for your project, allowing you to create a seamless and polished appearance.
To achieve a professional finish, consider using black spacers or felt pads to eliminate any visible gaps between cabinet doors. This attention to detail will elevate the overall aesthetic of your furniture and give it a more upscale feel.
Additionally, enhancing stability by clamping and screwing the cabinets together during assembly will ensure a long-lasting and durable final product.
For a cohesive look, don't forget to add side panels and top/bottom boards to the cabinets. This simple step will tie the entire piece together and make your furniture makeover project look like a million bucks.
Door Customization

To elevate the overall upscale appearance of your furniture project, the next step involves customizing the cabinet doors to achieve a sleek and modern look.
When customizing your cabinet doors, let's go with these steps:
- Measure and Cut Wallpaper: Guarantee a precise fit by measuring and cutting the wallpaper to cover the doors seamlessly.
- Apply Wallpaper Paste: Spread wallpaper paste evenly on the doors before carefully placing the wallpaper to prevent wrinkles or air bubbles.
- Paint with Two Coats: Achieve a modern aesthetic by applying two coats of black paint to the doors, allowing each coat to dry thoroughly.
- Attach Inexpensive Hardware: Enhance both functionality and aesthetics by adding affordable hardware that complements the overall design.
- Paint the Exterior: Create a polished finish by painting the outside of the cabinet black to match the doors, ensuring a cohesive appearance.
Adding Legs
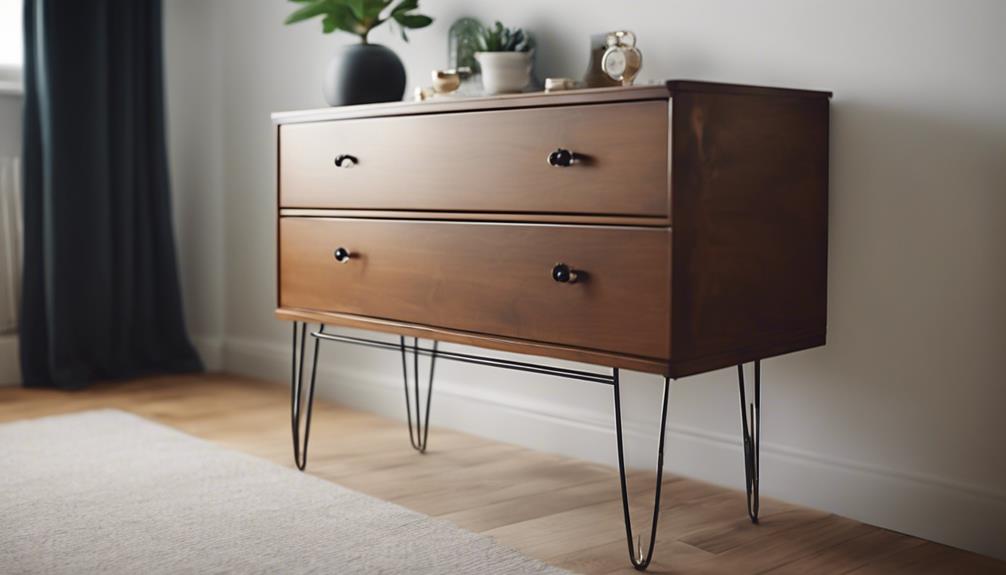
To elevate your furniture's appearance, consider adding wood legs to create a more elegant look. Stain the legs to match other wooden elements in the room for a cohesive design.
Make certain to attach the legs securely to guarantee both stability and aesthetics.
Wood Legs for Elegance
Consider enhancing the elegance of your furniture by adding wood legs to elevate its appearance. Purchase wood legs that match the style and color of your cabinet. This simple addition can transform a basic piece into a sophisticated focal point in your room.
- Stain the wood legs to match other wooden elements in your room for a cohesive look.
- Attach the legs securely to the bottom of the cabinet for both stability and aesthetics.
- Consider using eight legs for a balanced and visually appealing design.
- Opt for a special Walnut stain for the legs to achieve a sophisticated and upscale finish.
Staining for Coordination
How can you achieve a cohesive and elegant look when adding wood legs to your furniture?
To start, consider purchasing wood legs that match other wooden elements in the room for a more upscale appearance.
Staining the legs with a Walnut color can help achieve a cohesive look with the rest of the cabinet, elevating its visual appeal.
Once you have your stained legs, make sure to attach them securely to the bottom of the cabinet for both stability and aesthetics.
Eight Legs for Stability
For enhanced stability and visual appeal, opt for eight legs when adding them to your cabinet. Purchase wooden legs to give your cabinet a more upscale appearance and elevate its overall look.
Stain the legs to match other wooden elements in the room for a cohesive design aesthetic. Attach the legs securely to the bottom of the cabinet to ensure stability and durability.
Opt for eight legs to distribute weight evenly and enhance the visual appeal of the cabinet. Consider staining the legs with a special Walnut color to add a touch of sophistication to the transformed piece.
- Purchase wooden legs for upscale appearance
- Stain legs to match room's design
- Securely attach legs for stability
- Opt for eight legs for weight distribution
- Consider staining with Walnut color for sophistication
Additional Enhancements
You can take your furniture to the next level by installing top and bottom stain boards, giving your cabinet a sophisticated and cohesive look.
Enhance the stability and durability of your furniture by securely clamping and screwing the stain boards in place.
Elevate the overall aesthetic of your piece by considering adding stylish legs for a high-end finish.
Stain Board Installation
To improve the overall appearance of your furniture piece, consider adding top and bottom stain boards for a more polished and cohesive look. Begin by firmly clamping and screwing the stain boards in place to guarantee stability and durability.
When attaching the bottom board, flip the cabinet to conceal the screws, providing a seamless finish. For a luxurious touch, think about buying wood legs that complement the stain boards, elevating the overall aesthetic of the piece.
The addition of stain boards not only enhances the visual appeal but also adds a sense of harmony to the transformed cabinet.
- Firmly clamp and screw the stain boards in place.
- Flip the cabinet to attach the bottom board and conceal screws.
- Consider purchasing wood legs for a luxurious appearance.
- The addition of stain boards enhances harmony and aesthetic appeal.
Legs Attachment Options
Enhance the overall look of your cabinet by securely attaching wood legs for a more upscale and sophisticated appearance. Elevate your cabinet by purchasing wood legs that can be stained to match other wooden elements in the room or to create a cohesive design aesthetic. When attaching the legs, make sure to use screws for stability and longevity. For a balanced and symmetrical look, consider using eight legs that not only enhance the aesthetics but also provide functional support.
To add a touch of elegance, opt for staining the legs with a special Walnut color. This choice will infuse warmth and sophistication into the overall design, making your cabinet stand out and look like a million bucks.
Final Touches

For the final touches, make sure to firmly attach all components, adding hardware for a polished finish.
Here are some essential steps to contemplate:
- Secure all boards and doors: Using screws to guarantee durability and stability in the final product.
- Double-check for security: Confirm that all components are securely attached to prevent any potential issues down the line.
- Add Hardware: Incorporate hardware as the finishing touch to give the transformed cabinet a polished and cohesive appearance.
- Appreciate cost-effectiveness: Recognize the affordability of the project, achieving a high-end look without a hefty price tag.
- Plan for future transformations: Explore more Ikea furniture makeovers to continuously enhance your living space.
Cost-Effective Transformation
Assure a wallet-friendly transformation by incorporating Ivor cabinets and customized elements to elevate the appearance of your Ikea cabinets.
Add legs and stain boards to achieve a high-end look without breaking the bank.
Securely attaching components like doors and boards to ensure durability and longevity.
Investing in minimal cost additions such as black spacers and hardware can greatly enhance the overall aesthetic of your furniture.
By appreciating the cost-effectiveness of these upgrades, you can achieve a million-dollar look on a reasonable budget.
Remember, small changes can make a big impact when it comes to transforming your Ikea cabinets into stylish and upscale pieces.
With the right combination of Ivor cabinets, customized elements, and attention to detail, you can elevate the look of your furniture without spending a fortune.
Start your cost-effective transformation today and enjoy the results of your budget-friendly yet luxurious makeover.
Future Furniture Makeovers
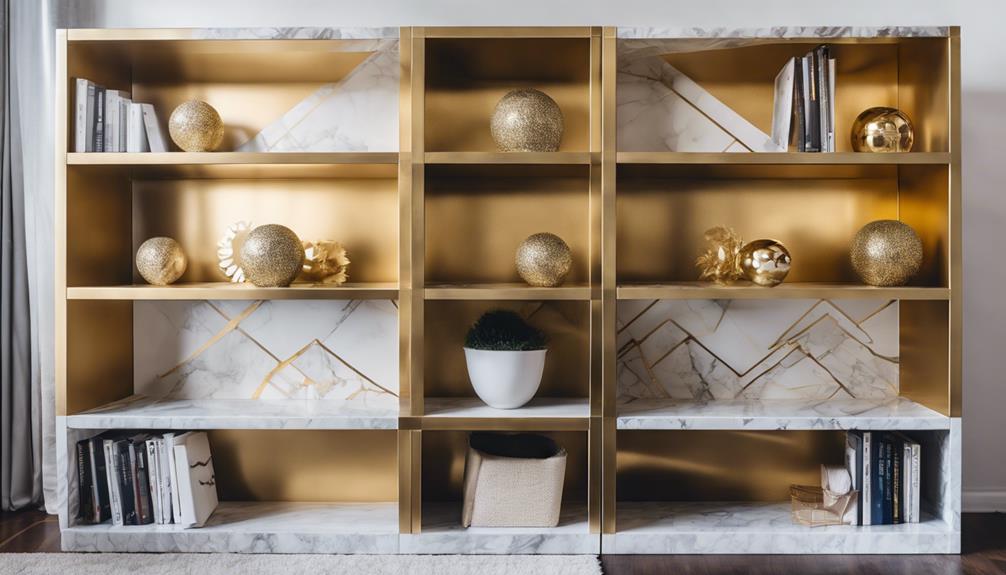
Consider exploring a variety of Ikea furniture pieces beyond cabinets, such as dressers, tables, or bookcases, for your future makeovers.
When planning your next furniture makeover project, think about incorporating different materials like metal, fabric, or wood to bring a fresh look to your pieces.
Experiment with various finishing techniques such as distressing, staining, or painting to achieve unique and personalized results.
To gather inspiration for your projects, delve into DIY blogs, watch YouTube tutorials, or browse social media platforms for innovative ideas that align with your style preferences.
Remember to consider your budget and available resources when planning future furniture makeovers to ensure a successful and satisfying transformation.
Frequently Asked Questions
How to Make IKEA Furniture Look More Expensive?
To make IKEA furniture look more expensive, upgrade with custom doors, wallpaper, and black paint. Attach stained wood legs and top/bottom stain boards for a luxurious finish. Secure with screws and add Hardware for a polished look.
What Is the IKEA Furniture Controversy?
Wondering about the IKEA furniture controversy? It's all about perception. People aim to elevate IKEA's mass-produced look by customizing, expressing creativity, and turning generic pieces into high-end gems through DIY projects and hacks.
What Went Wrong With Ikea?
When it comes to what went wrong with Ikea, issues like lack of personalization, limited customization, simplicity in design, durability concerns, and mismatched aesthetics can all contribute to a less-than-ideal furniture experience.
How to Make IKEA Look Antique?
Transform your IKEA furniture into antique treasures. Distress with sandpaper and a hammer, apply stain, add vintage hardware, use dry brushing or layered paint, and embellish with moldings. Your piece will radiate vintage charm.
Conclusion
Now that you've mastered the art of transforming your furniture, the possibilities are endless.
With just a few simple tweaks, you can take your pieces from drab to fab in no time.
So go ahead, release your creativity and turn your home into a million-dollar space without breaking the bank.
The sky's the limit when it comes to giving your furniture a makeover – so why wait?
Let your imagination run wild and make your space truly shine!